How to Find a Pool Leak Yourself
Before you call anyone, a few simple checks at home can confirm a leak and often point you toward the source. Here’s how to find a pool leak yourself, step by step.
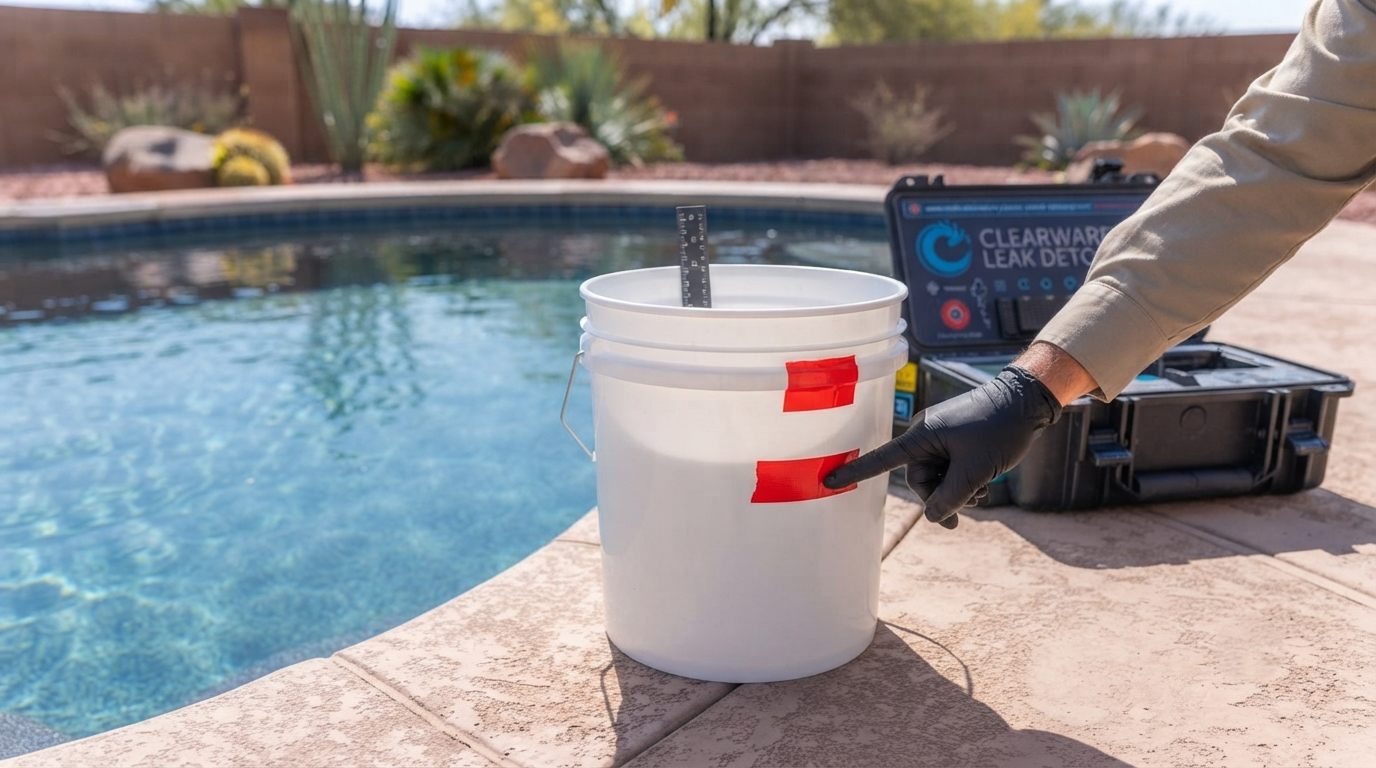
To find a pool leak yourself, start with a bucket test to confirm you’re losing water faster than evaporation. Then check the usual suspects — the equipment pad, skimmer, return jets, and light — and use dye near suspected cracks to see if it gets pulled in. If the loss is real but you can’t pinpoint it, that’s your cue to call a pro.
Want to know how to find a pool leak yourself before spending money on a service call? You can get surprisingly far with a bucket, some food coloring, and a careful look around. These home checks won’t replace professional equipment for a buried leak, but they’ll confirm whether you have a leak and often narrow down where it’s hiding.
Work through these steps in order. Each one either finds the problem or rules out an area, so you’re not just poking around at random.
Step 1: Run a Bucket Test
This is the single most useful DIY check — it separates a real leak from ordinary evaporation. Here’s how:
- Fill a bucket with pool water and set it on the first or second step, so the water inside sits at the same level as the pool.
- Mark the water level inside the bucket and the pool level outside it.
- Leave the pump running as normal and wait 24 hours (skip days with rain).
- Compare the two drops. If the pool dropped noticeably more than the bucket, you have a leak. If they dropped about the same, it’s just evaporation.
If the bucket test points to evaporation, you can relax — our guide on telling a leak from evaporation explains what’s normal for an Arizona pool.
Step 2: Check the Obvious Spots
If you’ve confirmed a leak, walk the pool and look at the places leaks show up most often:
- The equipment pad — look for drips or wet ground around the pump, filter, heater, and valves while the system runs.
- The skimmer — cracks where the skimmer meets the pool wall are a common culprit.
- Return jets and fittings — check for gaps or loose fittings where water re-enters the pool.
- The pool light — the conduit behind a light niche is a frequent hidden leak point.
- Visible cracks — scan the plaster, tile line, and steps for cracking or loose tiles.
These are the same areas a technician checks first, and they line up with the most common signs of a pool leak.
Step 3: Try a Dye Test
Once you have a suspected spot, dye will tell you if water is escaping there. Turn off the pump so the water is still, then:
- Get close to the suspected crack or fitting without stirring the water.
- Release a little dye or food coloring right next to it.
- Watch the dye. If it’s drawn into the crack or fitting, water is leaving there.
The dye test works best on structural leaks and fittings you can reach. For a deeper walkthrough of these home methods, see our full guide to DIY pool leak testing.
Step 4: Note the Pattern
How your pool loses water is a big clue, even if you can’t see the leak. Pay attention to two things:
- Pump on vs. off. Losing water only while the pump runs points to a pressure-side (return) leak; losing it only when the pump is off points to a suction-side or structural leak.
- Where the level stops. If the water drops and then holds at the skimmer, a return, or the light, the leak is likely right at that level.
Write down what you notice — it makes any later service call faster and more accurate.
When to Stop and Call a Pro
DIY checks have limits. It’s time to bring in a specialist when:
- The bucket test confirms a leak but nothing on the surface explains it.
- You suspect an underground plumbing line, which needs pressure testing to find.
- The loss is fast, or you see soggy soil or a shifting deck.
At that point, trying to dig or guess usually costs more than it saves — here’s when to call a pool leak detection company, and why paying for a precise diagnosis is almost always worth it. When you’re ready, a professional pool leak detection service can pinpoint what your home checks couldn’t.
Frequently Asked Questions
Can I really find a pool leak on my own?
Often, yes — at least enough to confirm a leak and narrow it down. A bucket test, a look at the usual spots, and a dye test catch many surface and fitting leaks. Buried plumbing leaks, though, usually need professional pressure testing.
What’s the easiest first test?
The bucket test. It costs nothing, takes a day, and reliably tells you whether you’re dealing with a real leak or just evaporation before you do anything else.
How much water loss is normal?
In Arizona’s heat, a quarter-inch or so a day from evaporation is common. Consistently losing more than that — especially half an inch or more — usually means a leak worth investigating.
Is DIY dye testing safe for my pool?
Yes. A few drops of leak-test dye or plain food coloring won’t harm your water or equipment. Just use a small amount so you can clearly see where it goes.
The Bottom Line
A bucket, some dye, and a careful look will confirm a leak and often locate it — and tell you when it’s time to hand off to a pro.
Rather skip the guesswork? Take our free 60-second assessment to see the most likely source of your water loss in about a minute.