DIY Pool Leak Testing: How to Find a Pool Leak Yourself
Before you call someone, here are the pool leak testing steps you can safely check yourself.
You walk outside, glance at your pool, and immediately notice something doesn’t look right. The water level seems lower… again. Now your mind starts racing. Is this just the Arizona heat? Did the kids splash half the pool out yesterday? Or am I looking at a leak that’s going to cost thousands?
The truth is, not every pool that loses water has a leak — pools naturally lose some water every day, especially during a hot Arizona summer. The good news is there are several simple pool leak testing steps you can do yourself before scheduling a professional inspection. The not-so-good news? Figuring out whether you probably have a leak is much easier than figuring out exactly where that leak is. This guide walks through the same basic checks many homeowners perform before deciding whether it’s time to call a pro. (Not sure you even have a leak yet? Start with the signs of a pool leak.)
First Question: Is Your Pool Actually Leaking?
Before you start looking for cracked pipes or broken plumbing, answer one simple question: is your pool actually losing more water than it should? A surprising number of homeowners assume they have a leak when the real culprit is normal water loss from Arizona heat, wind, low humidity, kids splashing, cannonballs, or vacuuming and backwashing the filter. That’s completely normal. What isn’t normal is adding water every couple of days or watching the level drop to the same spot over and over. If you’re constantly reaching for the hose, it’s time to investigate further.
- How Much Water Loss Is Normal in a Swimming Pool?
- Is Your Pool Losing Water or Is It Just Evaporation?
Perform the Bucket Test
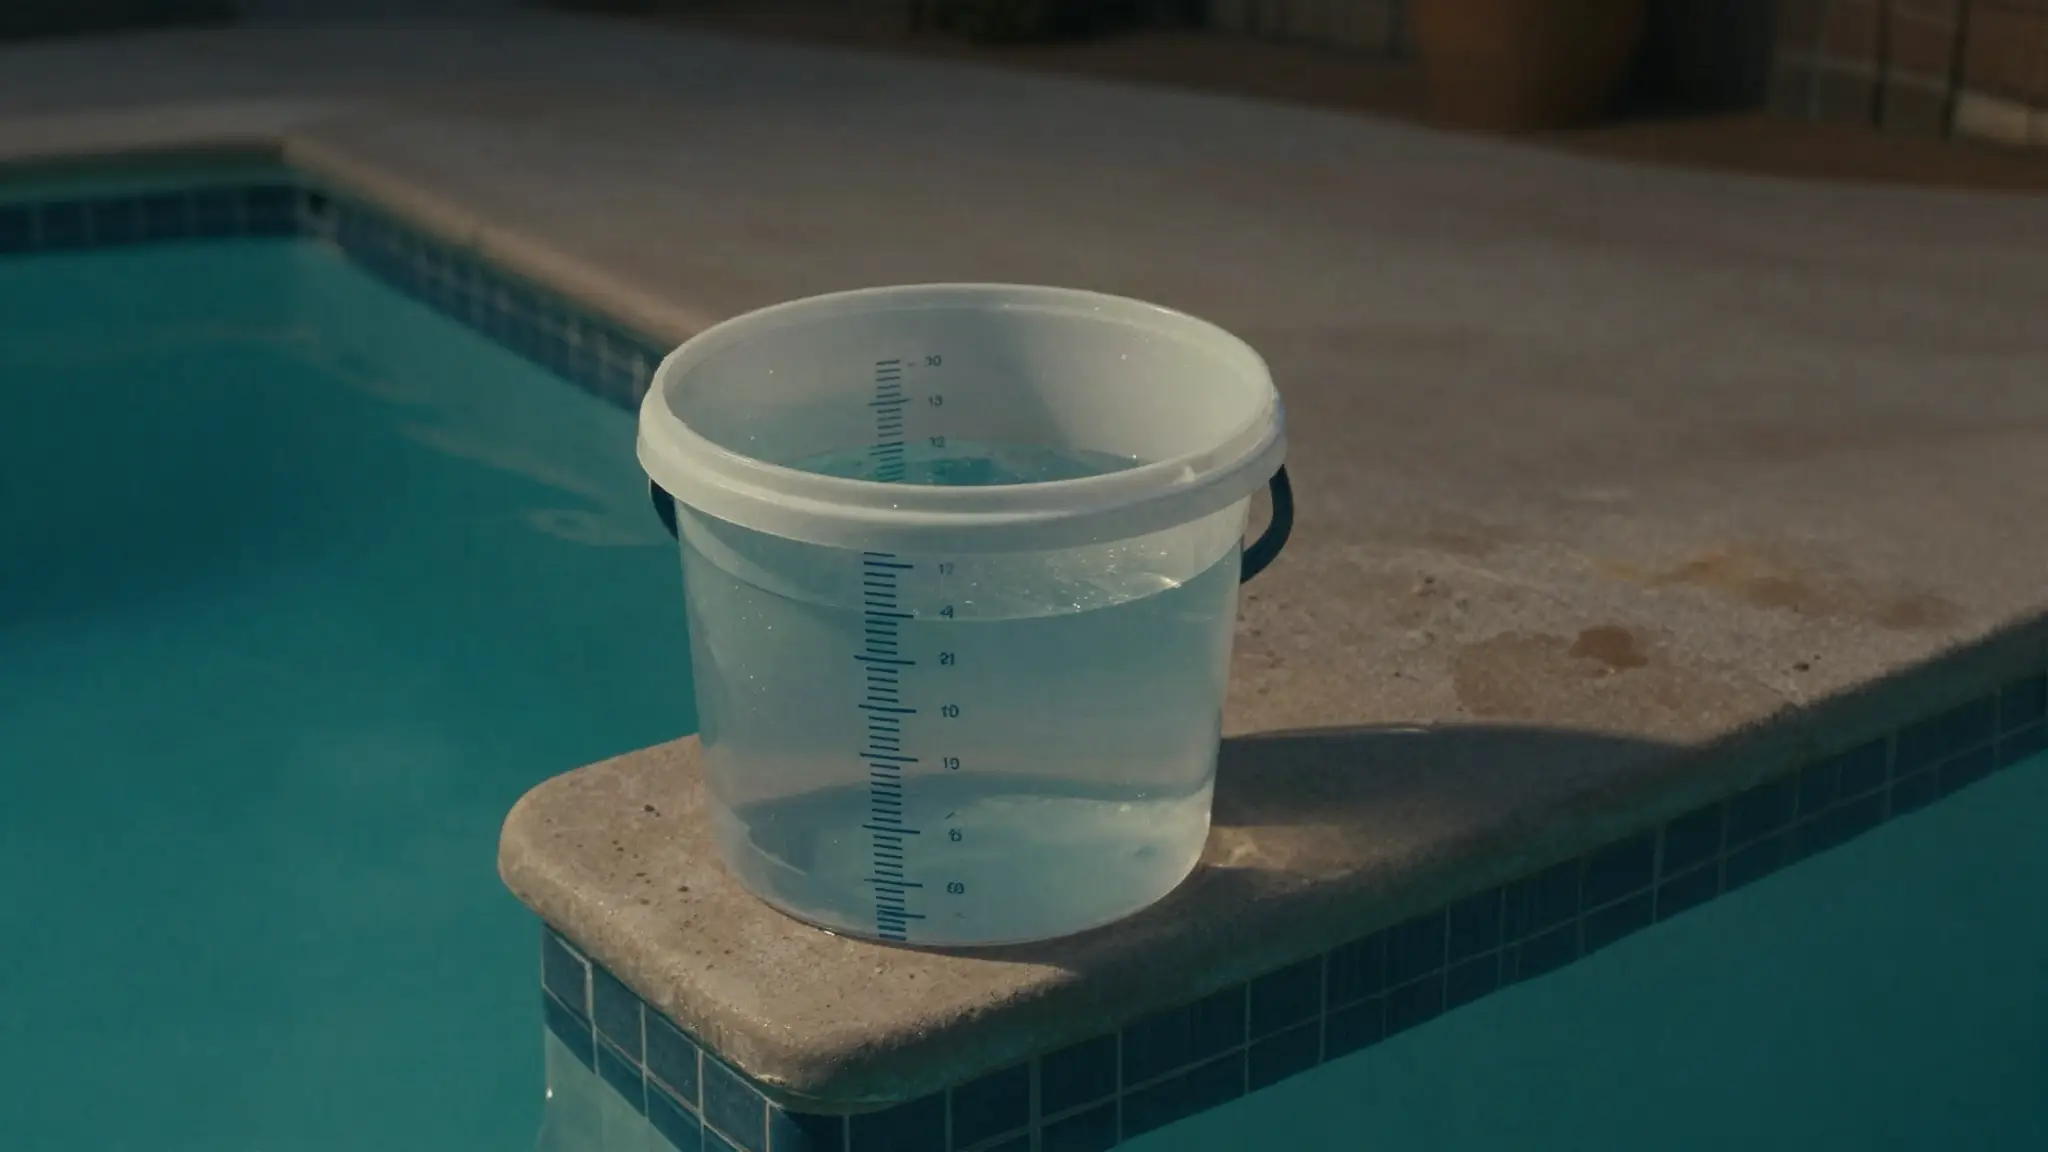
If there’s one DIY test every pool owner should know, it’s the bucket test. It takes about five minutes to set up, costs almost nothing, and can quickly tell you whether your pool is losing more water than normal evaporation. Here’s how it works:
- Fill a bucket with pool water.
- Place the bucket on a pool step so it’s partly submerged.
- Mark the water level inside the bucket.
- Mark the pool’s water level on the outside of the bucket.
- Turn off your automatic fill system if you have one.
- Wait 24 to 48 hours, then compare the two levels.
If both dropped about the same amount, evaporation is probably the cause. If the pool dropped noticeably more than the bucket, there’s a good chance you have a leak. The bucket test won’t tell you where the leak is, but it’s one of the easiest ways to confirm whether you should keep investigating.
- How to Perform the Pool Bucket Test
Pay Attention to When You Lose Water
One of the biggest clues isn’t how much water you’re losing — it’s when you’re losing it.
If your pool loses water while the pump is OFF
The problem is often something that leaks even when the system isn’t circulating water — pool shell cracks, skimmer leaks, return fittings, or static plumbing.
If your pool only loses water while the pump is RUNNING
Now you’re looking at a different set of possibilities. Water moving under pressure can expose leaks that stay hidden when the system is off — return lines, pressure-side plumbing, equipment leaks, or underground pipes. Knowing when the water disappears can save a lot of guessing later. (For the full breakdown, see what causes pool leaks.)
- Why Is My Pool Losing Water When the Pump Is Off?
- Why Is My Pool Losing Water Only When the Pump Is Running?
Inspect the Pool Equipment Area
Before you assume there’s a broken pipe under your deck, spend a few minutes looking at the equipment you can actually see — sometimes the leak is sitting right in front of you.
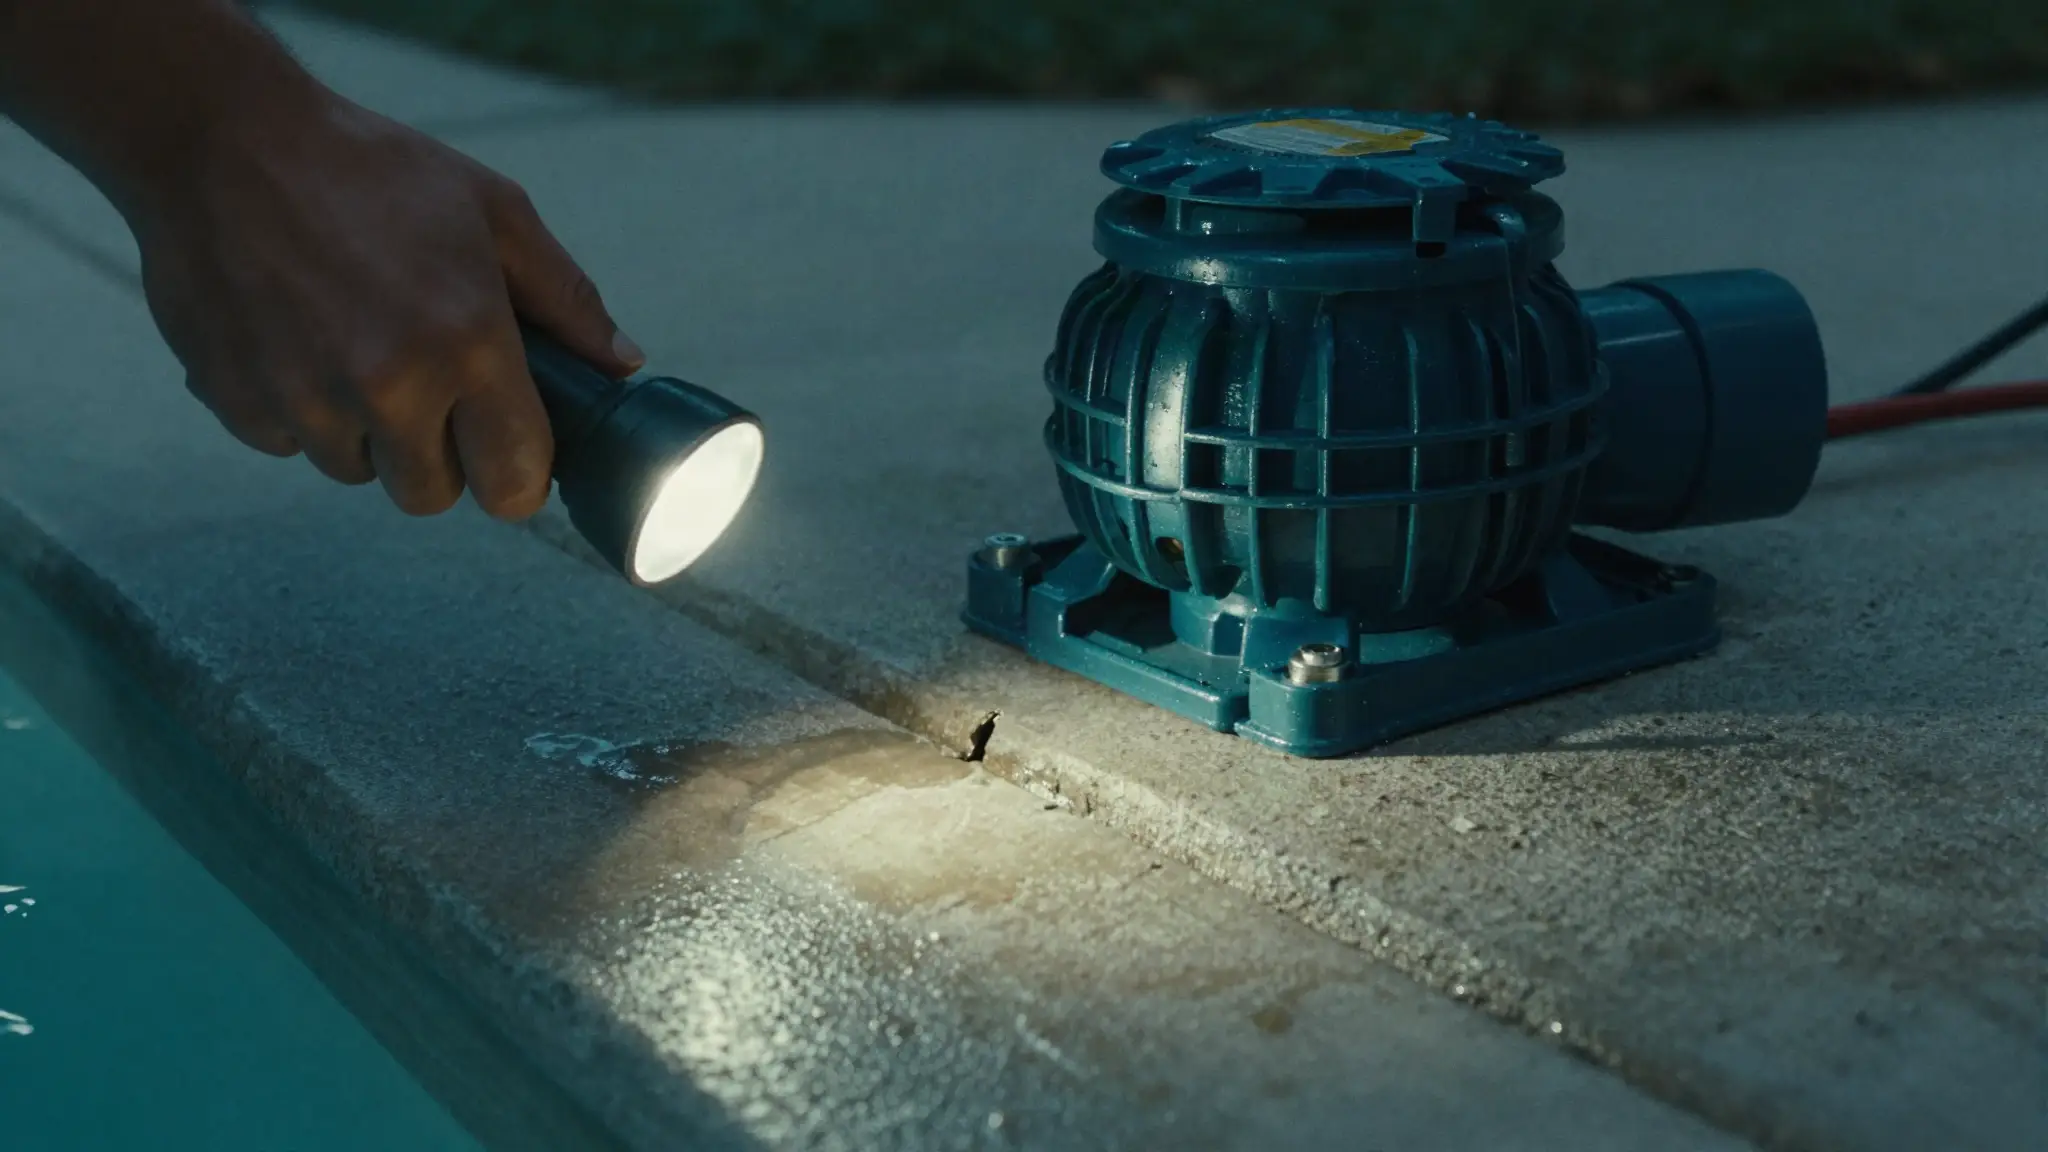
Check the pool pump
Look for water around the base, dripping fittings, cracks in the housing, and worn seals. Even a slow drip can add up over time.
Check the filter
Inspect the tank, clamps, O-rings, and plumbing connections. White mineral deposits or damp spots often point to a slow leak.
Check the heater
If your pool has a heater, watch for rust or corrosion, water dripping underneath, and wet plumbing connections. Sometimes what looks like a plumbing leak is actually the heater itself.
- How to Check Your Pool Pump for Leaks
- How to Check Your Pool Filter for Leaks
- How to Check Your Pool Heater for Leaks
Check Any Pool Plumbing You Can See
Not every plumbing leak is buried underground — some of the easiest leaks to find are hiding in plain sight around your equipment pad. Take a few minutes to inspect any exposed plumbing.
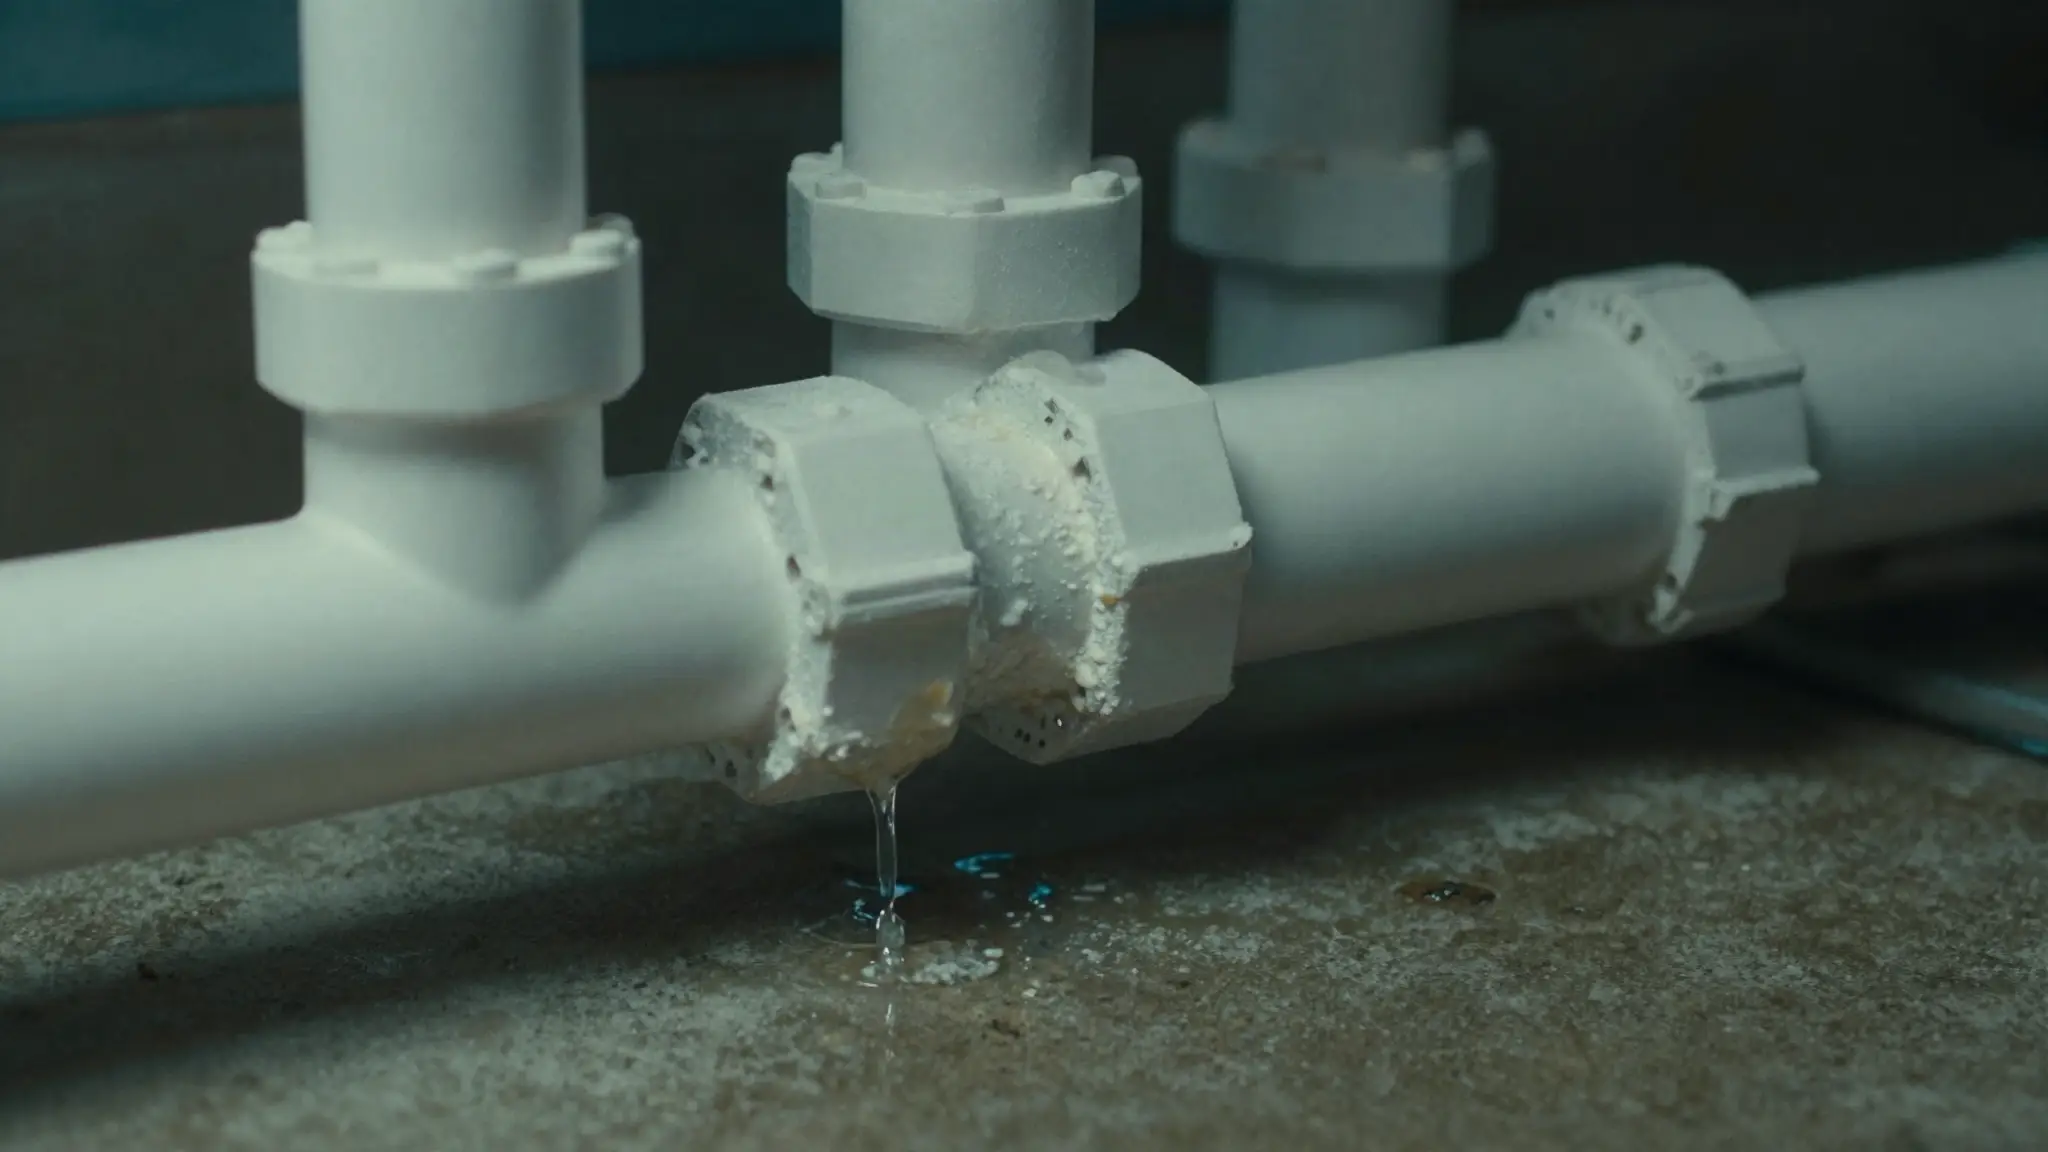
Look for water dripping from PVC joints, loose unions or fittings, cracks in exposed pipes, white calcium or mineral buildup, and damp spots that never seem to dry. Even a slow drip is worth attention — it might not explain inches of water loss a day, but it points to a repair that only gets worse if ignored.
- How to Check Pool Plumbing for Leaks
Inspect the Most Common Leak Areas
Some parts of a pool are simply more likely to leak than others — and the good news is you can inspect many of them yourself.
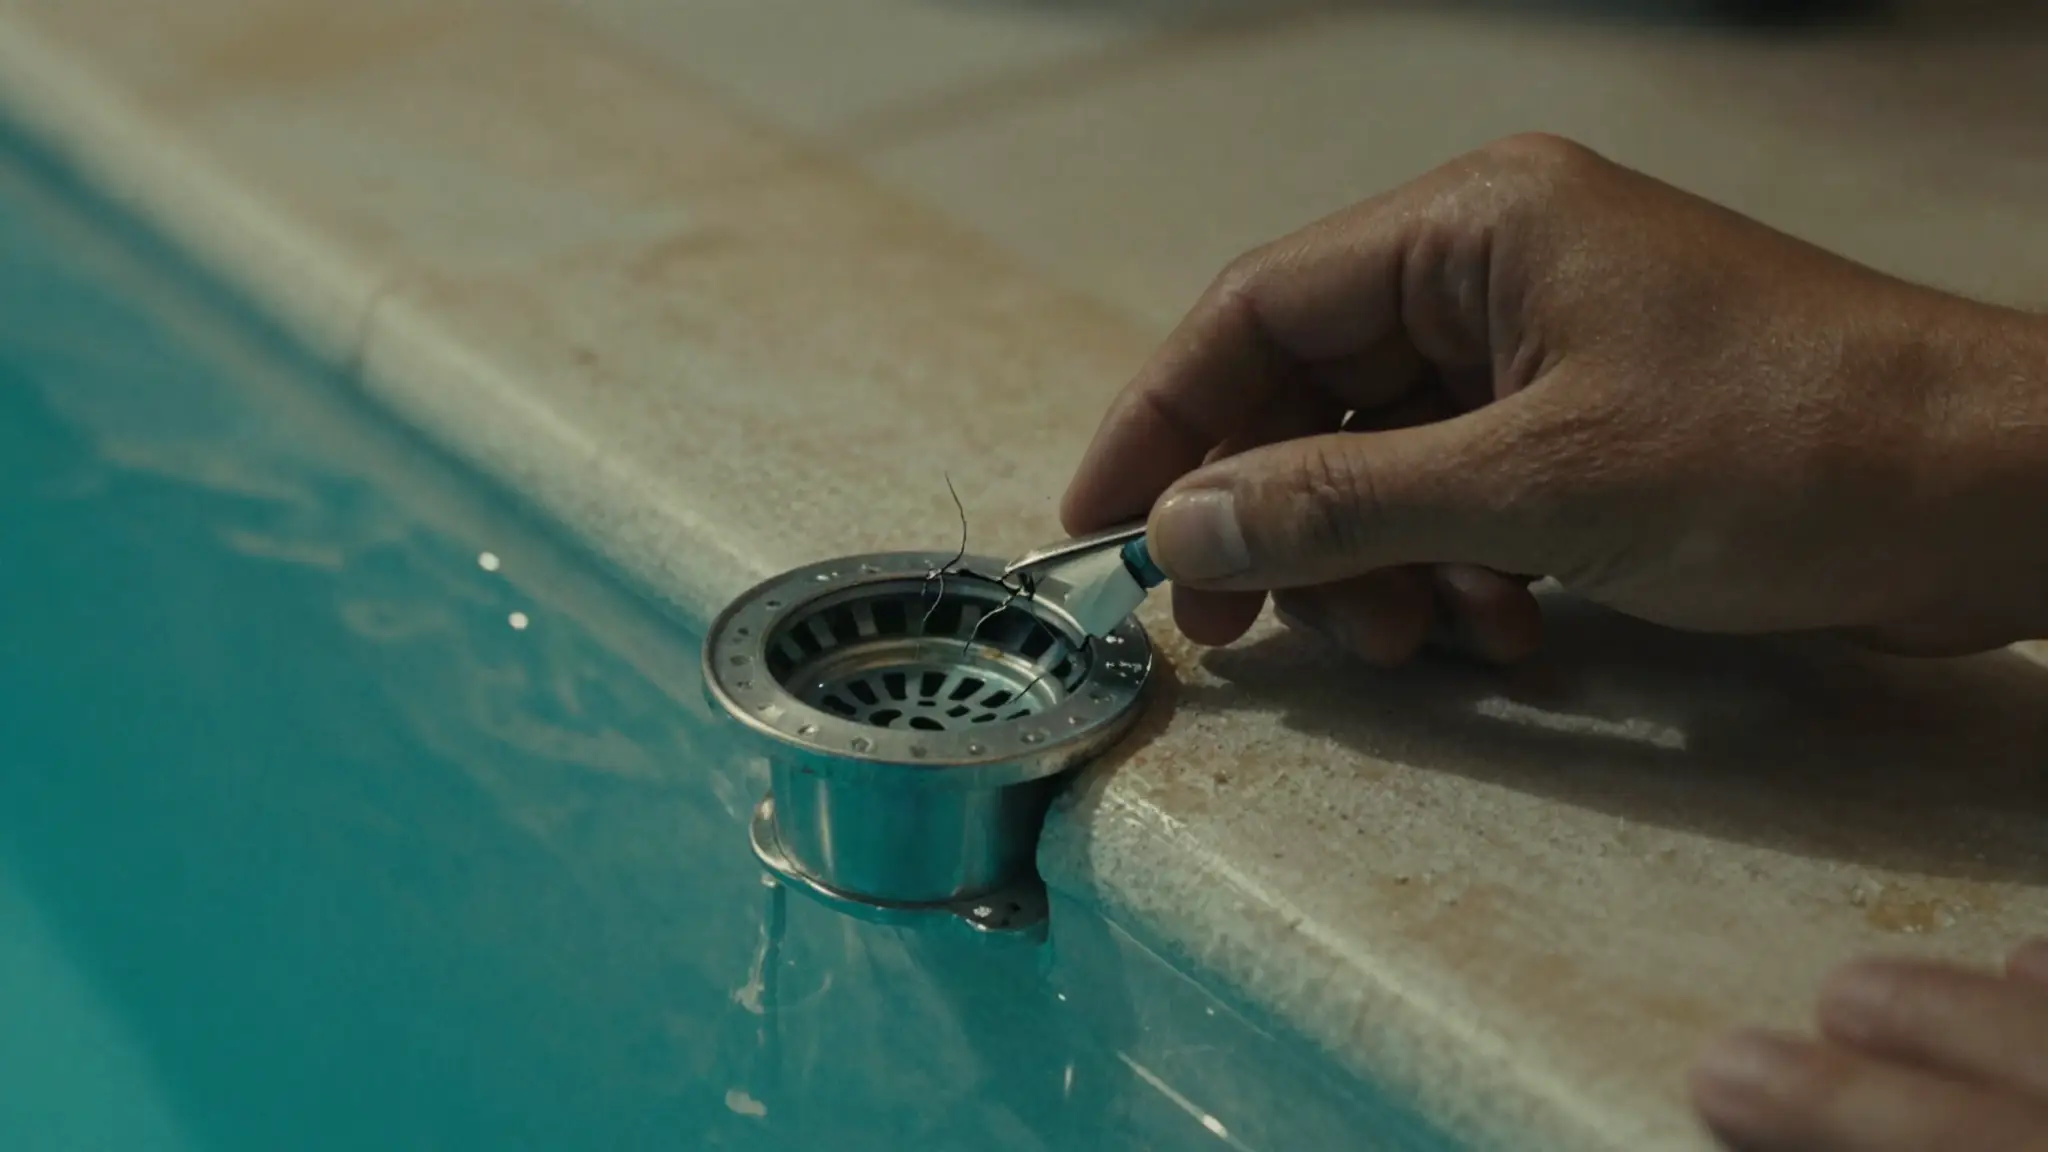
Check the skimmer
The skimmer is one of the most common leak spots because it connects to both the pool shell and the plumbing. Look for cracks around the skimmer opening, gaps between the skimmer and pool wall, and loose or deteriorating sealant. If your pool always stops losing water right around the bottom of the skimmer, that’s another clue the leak may be nearby.
Check the return jets
Return jets push filtered water back into your pool, and over time the fittings can loosen or develop small leaks. Look for cracks around the fitting, loose return eyeballs, and water loss that’s worse when the pump is running. Air bubbles from the returns point to the return side.
Check the pool light
Pool lights surprise a lot of homeowners. Inspect the area around the light niche for visible cracks, loose fixtures, and gaps around the housing. If your water consistently drops to the level of the light and then stops, it’s worth investigating.
Check the main drain
The main drain is much harder to inspect yourself since it’s at the bottom of the pool. You can look for obvious damage, but don’t assume the drain is leaking just because the level is dropping — and don’t drain your pool to inspect it, which can create a whole new set of problems. If you suspect the main drain, it’s usually best to let a professional test it.
- How to Check Your Skimmer for Leaks
- How to Check Return Jets for Leaks
- How to Check Your Pool Light for Leaks
- How to Check the Main Drain for Leaks
Try a Dye Test
Once you’ve found an area that looks suspicious, a dye test can help you see whether water is actually being pulled into it. With the pool water as still as possible, slowly release a small amount of leak-detection dye or food coloring near small cracks, the skimmer, return fittings, around the pool light, or any area you suspect.
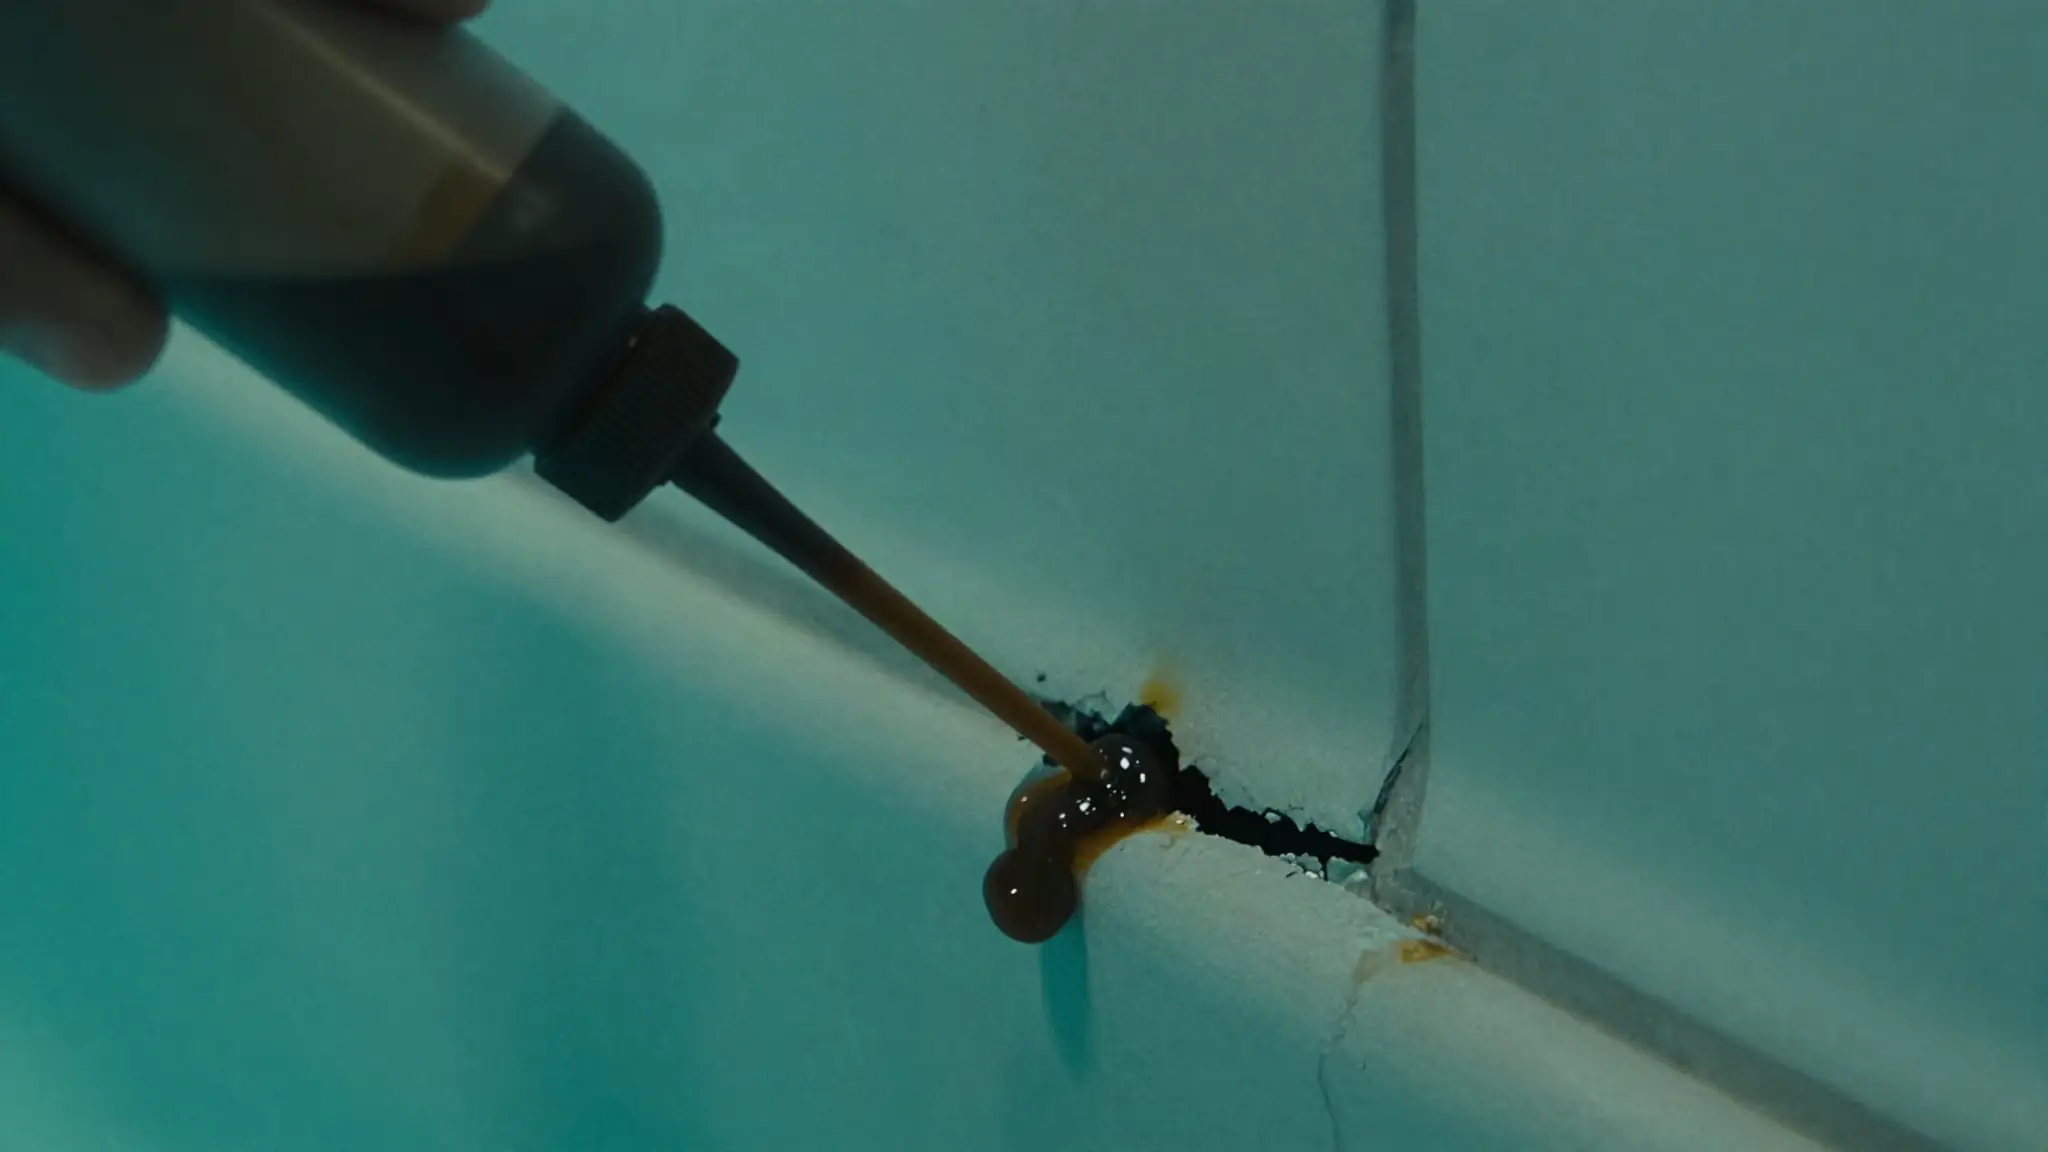
Just remember: a dye test only works when you already have a suspected leak location. It won’t magically tell you where an underground pipe is leaking or find a hidden plumbing problem beneath your deck. Think of it as a way to confirm a suspicion — not discover a mystery.
- How to Do a Dye Test for Pool Leaks
Can You Find Underground Leaks Yourself?
This is where most DIY projects hit a wall. Underground plumbing leaks are difficult because you can’t actually see the pipes. Even if you notice a wet spot in your yard, there’s no guarantee the leak is directly underneath it — water follows the path of least resistance and can travel several feet through the soil before it reaches the surface. That’s why professionals use pressure testing, electronic listening equipment, and line tracing instead of simply digging where the ground looks wet. If you’ve checked everything above ground and still can’t find the problem, an underground plumbing leak becomes much more likely.
- How to Find Underground Pool Plumbing Leaks
DIY Leak Tools: Are They Worth It?
There are plenty of DIY leak detection tools online. Some are useful; others mostly collect dust in the garage.
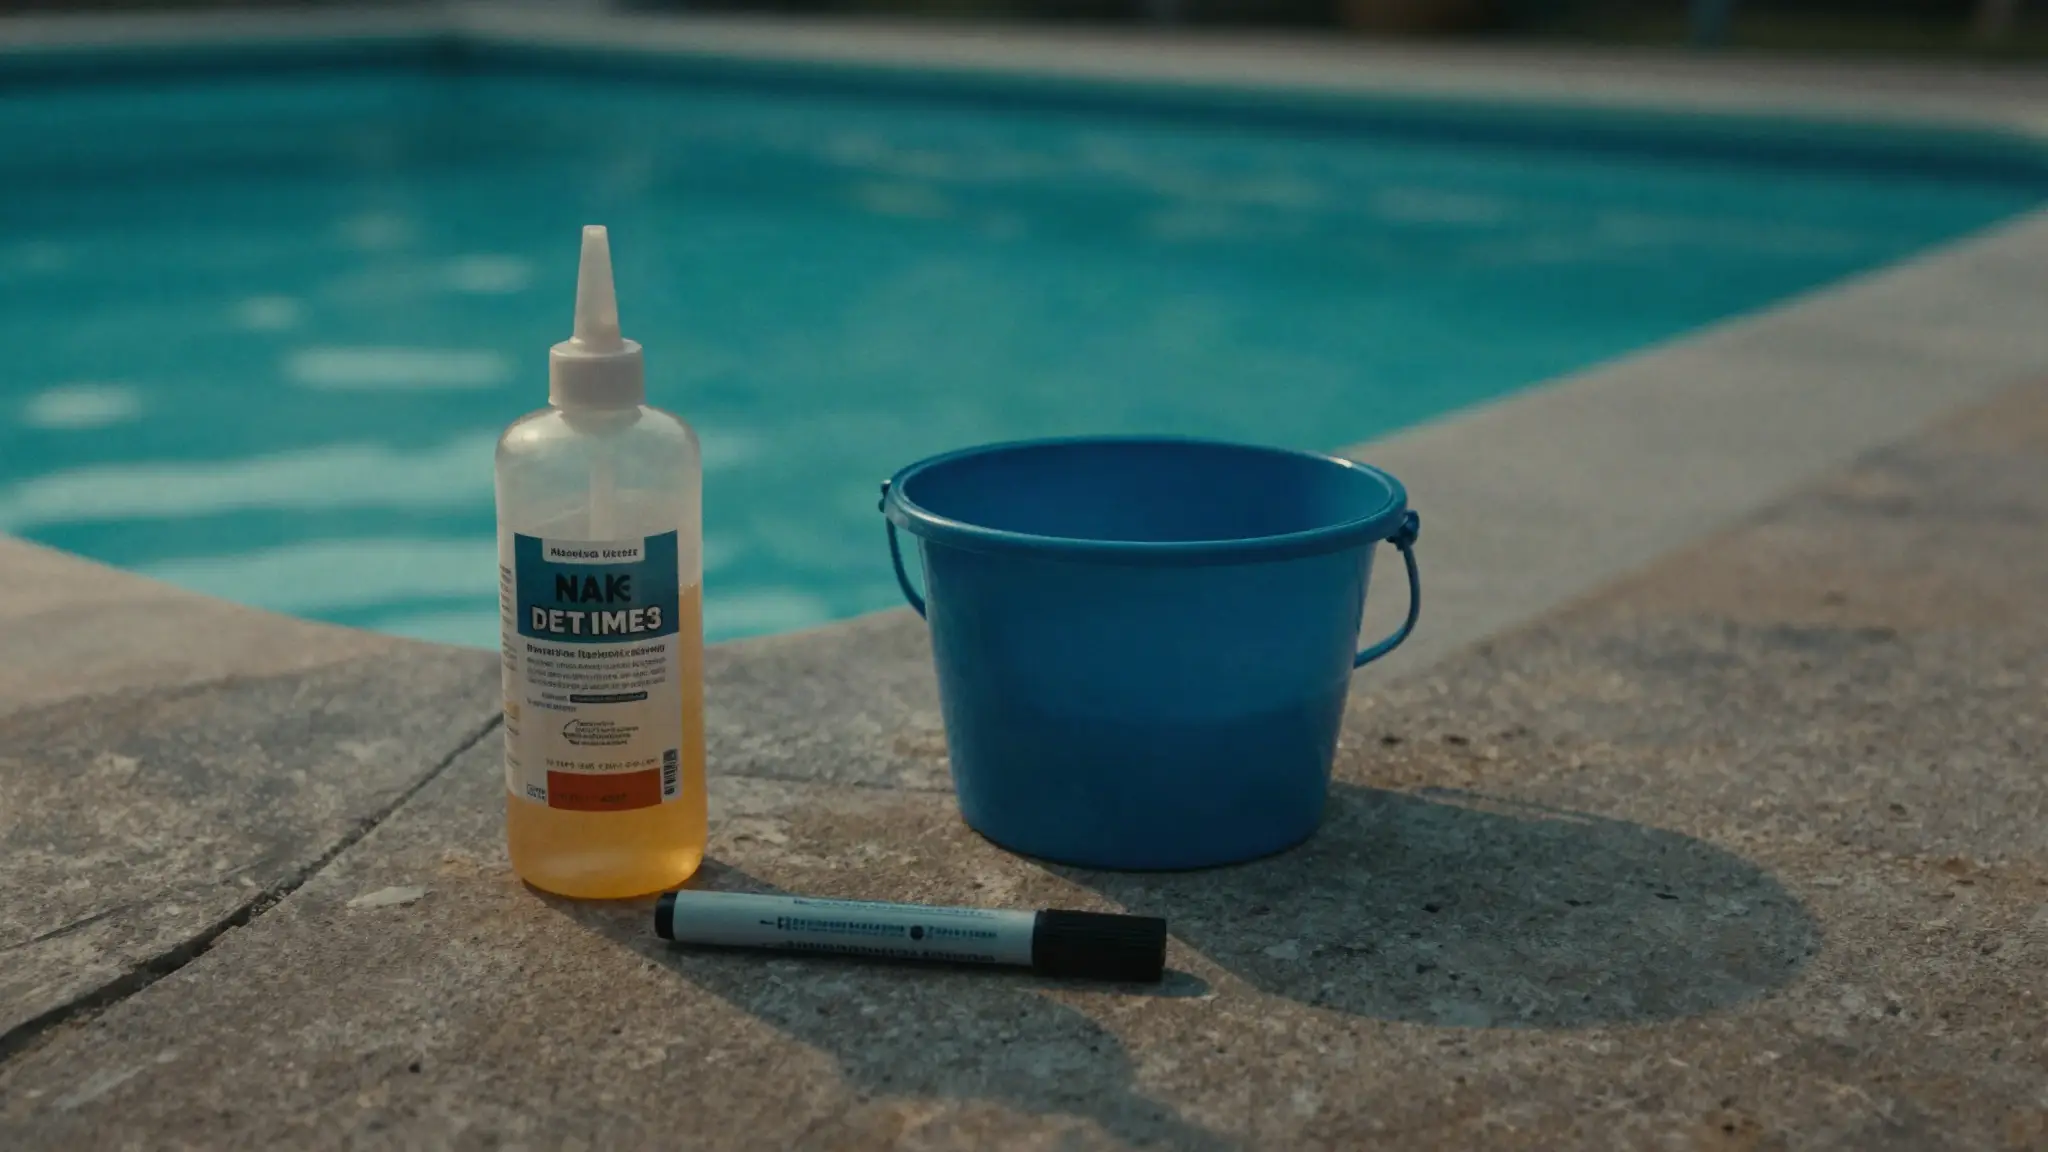
Dye kits
Inexpensive and effective for checking cracks, skimmers, return fittings, and pool lights — a great starting point when you already have a specific area to inspect.
Pressure testing kits
These let homeowners test individual plumbing lines, but you need to know how your pool’s plumbing is laid out and how to isolate each line correctly — otherwise it’s easy to misread the results.
Electronic leak detection equipment
The gear you often see professionals using. Impressive, but expensive and takes experience to interpret. For most homeowners, it doesn’t make sense to buy equipment you’ll use once.
- DIY Pool Leak Detection Tools You Can Use
- Pool Leak Detection Methods Professionals Use
Common DIY Mistakes
Trying a few simple tests is a smart idea. Guessing? That’s where things get expensive. A few mistakes we see all the time:
Digging before you know where the leak is
One wet spot in the yard doesn’t automatically mean that’s where the pipe is leaking. Pool plumbing rarely runs in a straight line, and water travels underground before it surfaces. Digging first often means repairing your landscaping… and still not finding the leak.
Replacing parts “just to see”
It’s tempting to think “maybe it’s the pump,” so you replace the pump — and a week later the pool is still losing water. The same happens with filters, valves, skimmers, and fittings. Replacing parts without confirming they’re leaking can cost far more than the leak itself.
Assuming every crack is the problem
Not every crack leaks, and not every leak comes from a crack. Some cracks are only cosmetic; others may have nothing to do with the water loss you’re seeing.
Buying every leak-repair product online
Those “seal your leak in minutes” products have their place, but they’re not a cure-all. If you don’t know where the leak is, adding sealers or patches is mostly just guessing.
- Common Mistakes When Looking for a Pool Leak
DIY Repairs: What You Can Safely Fix
Once you’ve found the problem, you might wonder if you can fix it yourself. Sometimes yes — sometimes it’s better to leave it alone.
Repairs many homeowners can handle
If you’re comfortable with basic pool maintenance, you may be able to tighten a loose plumbing connection, replace a worn O-ring, replace a leaking drain plug, tighten a return fitting, or replace a simple gasket. These are usually inexpensive and don’t require specialized equipment.
Repairs better left to a professional
Some jobs are more complicated than they look: underground plumbing repairs, structural pool cracks, main drain repairs, underground return lines, and major equipment failures. These often require specialized tools, pressure testing, or excavation — and attempting them without experience can make the repair much more expensive.
- DIY Pool Leak Repair: What You Can Safely Fix
- DIY Repairs You Should Never Attempt
When DIY Stops Being Enough
DIY testing is great for answering one question: “do I probably have a leak?” Professional leak detection answers a different one: “exactly where is the leak?” If you’ve done the bucket test, checked your equipment, inspected the obvious areas, and your pool is still losing water, you’ve probably reached the point where more guessing won’t help. It’s usually time to call a professional if:
- You’re adding water every few days.
- The bucket test points to a leak.
- You can’t find the source.
- The leak appears to be underground.
- Your pool only loses water when the pump is running.
- You suspect a structural crack.
- Repairs may require cutting concrete or digging.
A professional can usually confirm the exact location before any repairs begin — which helps you avoid paying to fix the wrong problem. Our complete pool leak detection guide walks through exactly how that works.
- When a DIY Pool Leak Test Isn’t Enough
- When You Should Call a Pool Leak Detection Company
How to Prepare Before Calling a Pro
You don’t need to be an expert before scheduling an inspection, but the more information you can give the technician, the easier it is to narrow down the problem. Before you call, try to write down:
- About how much water your pool is losing
- Whether the leak gets worse with the pump on or off
- Where you’ve noticed wet spots
- Any cracks or damage you’ve seen
- Photos or short videos of the symptoms
- Any recent pool repairs or equipment replacements
This gives the technician a head start and makes the inspection more efficient.
- How to Document a Pool Leak Before Calling a Pro
If your tests point to a real leak, here's what a professional repair usually costs.
- EPA WaterSense — Pool Water Efficiency — U.S. EPA guidance on measuring pool water loss — the basis of the bucket test.
- USGS — Evaporation & the Water Cycle — Understand normal evaporation so your DIY test results actually mean something.
- University of Arizona Cooperative Extension — Water Conservation — Arizona-climate water-use context for interpreting your numbers.
Frequently Asked Questions
Can I find a pool leak myself?
Sometimes. Simple tests like the bucket test, a visual inspection, and a dye test can help you narrow down the problem. Hidden plumbing leaks usually require professional equipment.
What is the easiest way to test for a pool leak?
The bucket test is the easiest and most reliable first step. It helps you determine whether you’re losing more water than normal evaporation.
How accurate is the bucket test?
It’s very good at telling you if your pool is leaking. It just can’t tell you where the leak is.
Can dye testing find every pool leak?
No. Dye testing only works when you already suspect a specific area, such as a crack, skimmer, or pool light.
Can I find an underground pool leak myself?
It’s possible but difficult. Underground leaks often require pressure testing and specialized equipment to pinpoint the exact location.
Do I need special equipment?
Not for the basic checks in this guide. A bucket, a marker, and some leak-detection dye are enough for most DIY inspections.
When should I call a pool leak company?
If you’ve confirmed abnormal water loss but still can’t find the source, it’s usually time to have the pool professionally tested.
Your Next Step
DIY pool leak testing is the perfect first move — it tells you whether you probably have a leak without spending a dime.
But if you’ve worked through these steps and your pool is still losing water, don’t keep guessing. Understand your symptoms, review the common causes, and then let the leak be professionally located so any repair is based on evidence, not a hunch.